Happy Friday! I’ve got a great DIY project for you this weekend!
Painted glass vases! It’s a great way to add any colour to your home or even use it as a centerpiece for your wedding! I just love handmade items and adding handcrafted elements in your wedding makes it that much more personal! Pink and gold continues to be a trendy colour for spring weddings so I decided to use a blush pink and champagne gold colour for this project (plus, blush pink and gold are also my logo colours!). This project is so easy and fun to do. Really, who doesn’t like to play with paint?
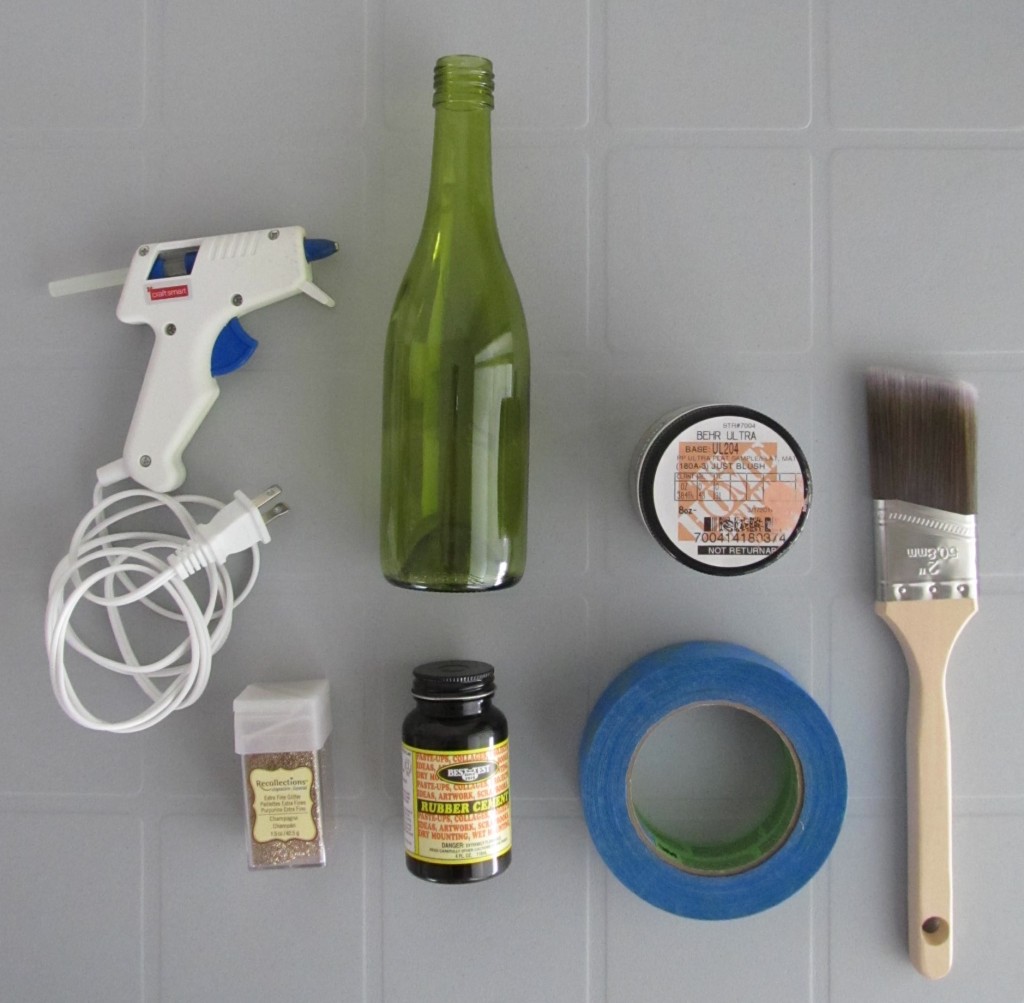
So here’s what you will need:
1 bottle (remove labels and let dry) [I used an old wine bottle]
1 colour paint [You can use spray paint, but spray paint typically has a limited selection of colours. I used Behr Premium Plus Paint, bought from The Home Depot – I like this paint because it’s a paint and primer in one! If you like the colour I used, it’s called Just Blush (Code # 180A-3) ]
1 paint brush [I used a 2” brush with a angled tip. You can use any size, but I thought this gave better coverage]
1 glue gun + glue stick
Optional:
Painter’s tape
Glitter of your choice
Second paint colour of your choice
Directions:
1. Rinse out any liquids left inside the bottle.
2. Soak the bottle in some soap and water for about 15mins or overnight (in a bucket or any container that will fit your bottle). Make sure the water covers to the top edge of the label.
3. Peel off the label
4. If there is still some glue left on the bottle, you can use some oil to rub it off (I used vegetable oil). Then use a scrub and some soap to clean off the oil
5. Dry the bottle
Now, for the fun part:
6. Plug in your glue gun and wait for 2-3 minutes until heated
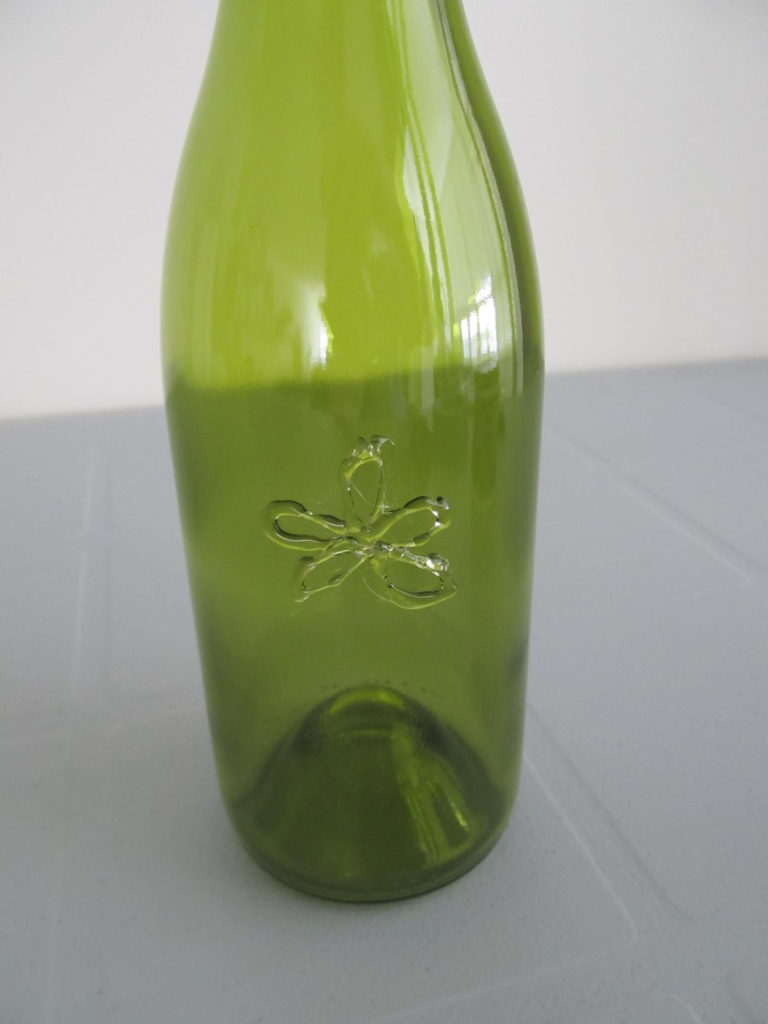
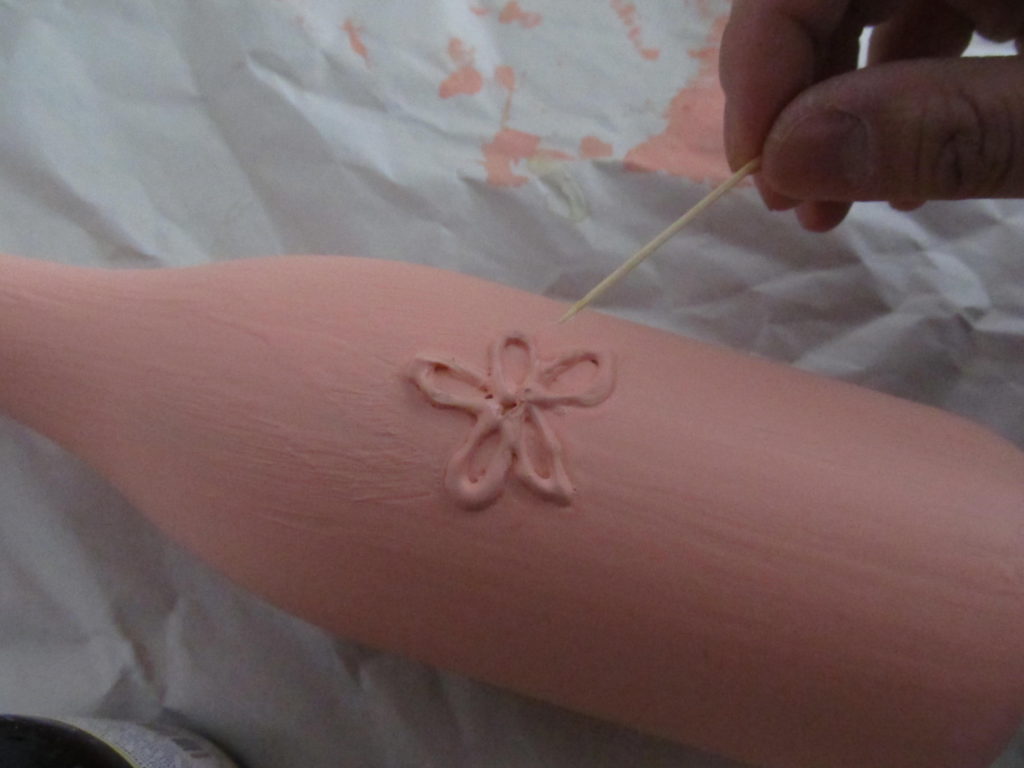
7. Use the glue gun to draw out your design, name, or text [(i.e. you can put the letters or initials of you and your spouse’s name). I decided to do my signature flower logo]
8. Once the glue hardens, you are ready to paint.
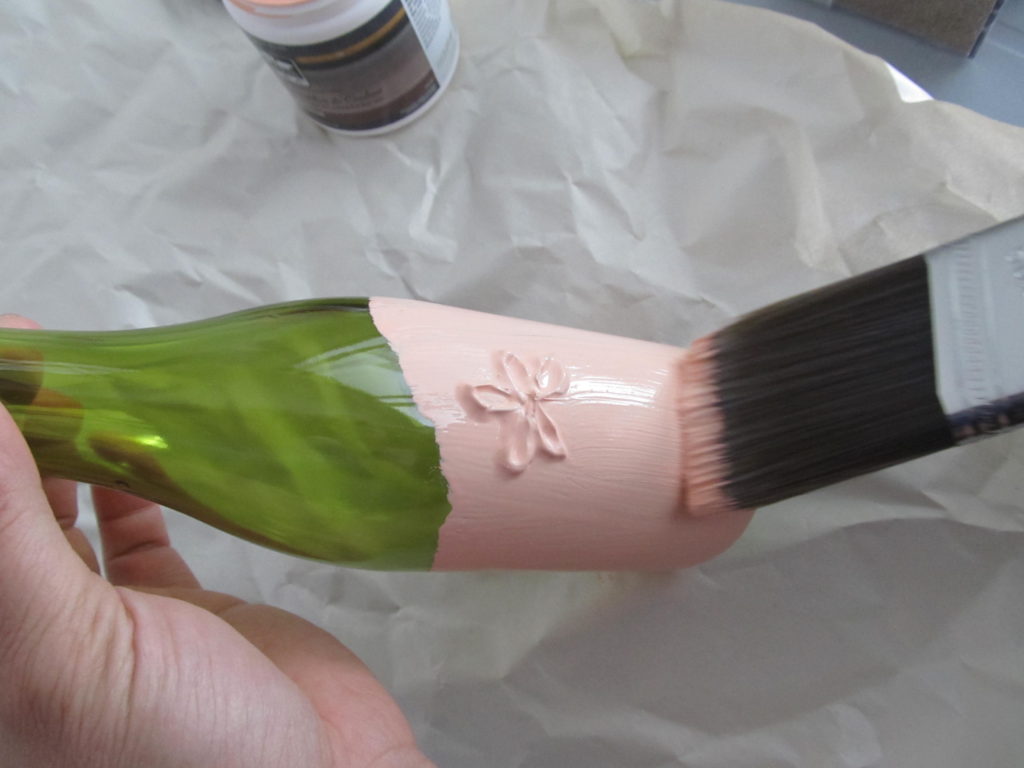
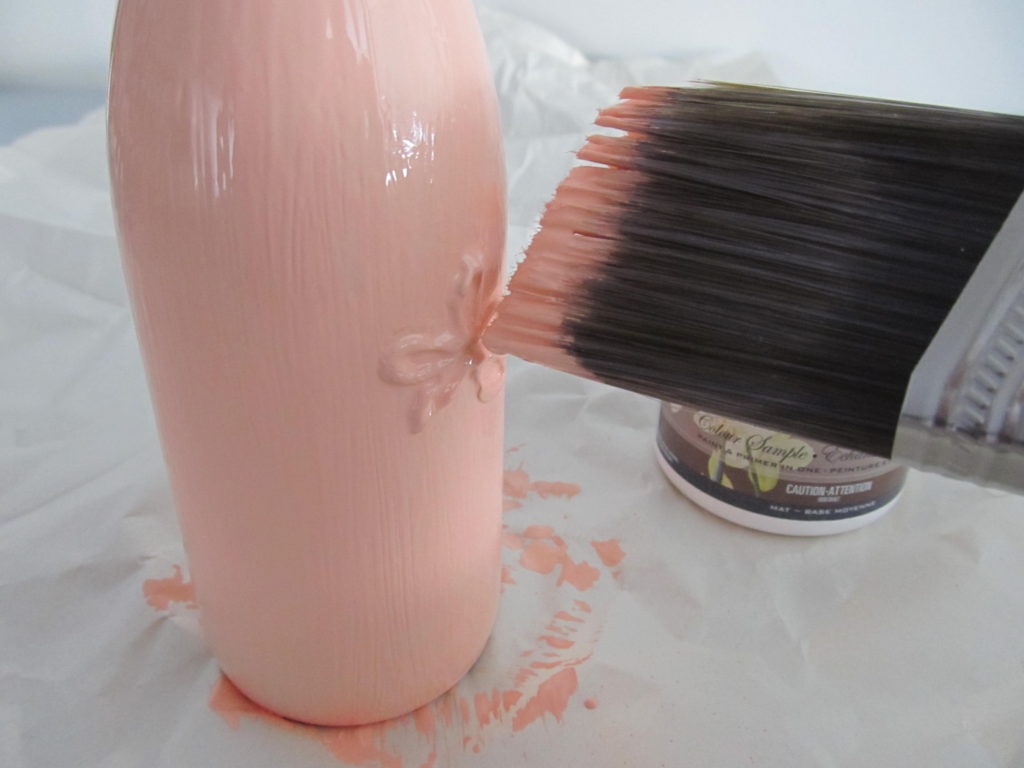
9. Paint the bottle with one coat, let it dry a bit, then paint on a second coat.
Use the tip of the brush to paint the final touches around your design.
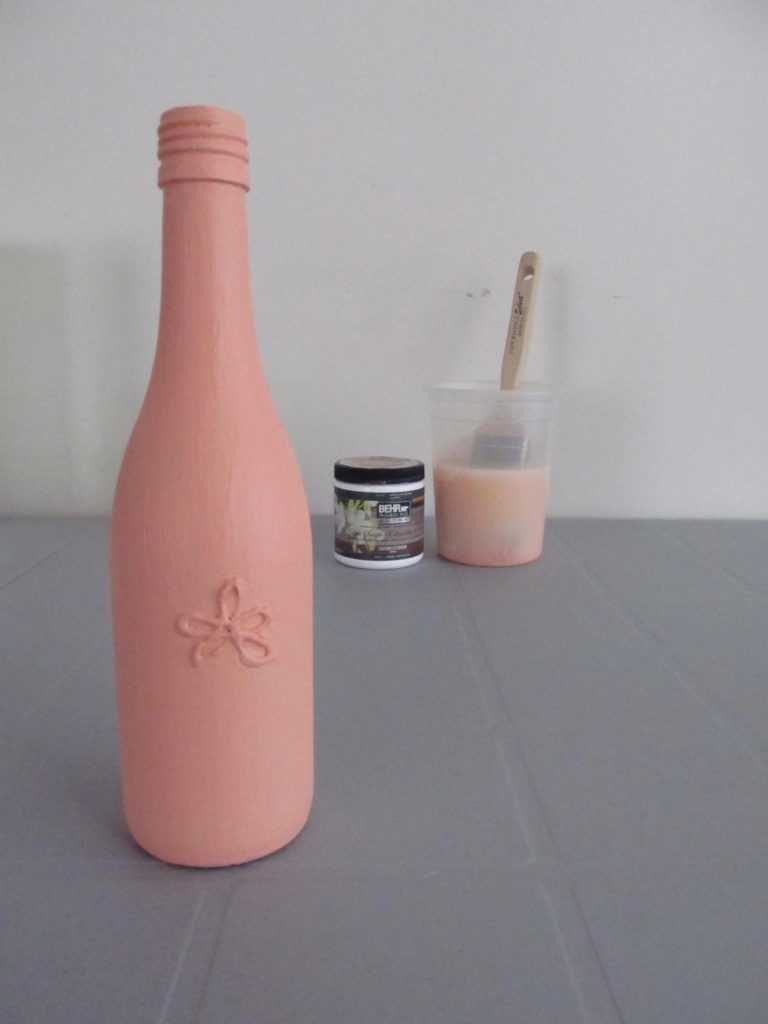
10. Let it dry fully
If you want to keep it simple then leave it as it is and you’re done!
But if you’re like me and want to fancy it up a bit, you can add a second colour or some glitter to give it that extra sparkle. Just make sure the paint is completely dry first before you start this next step.
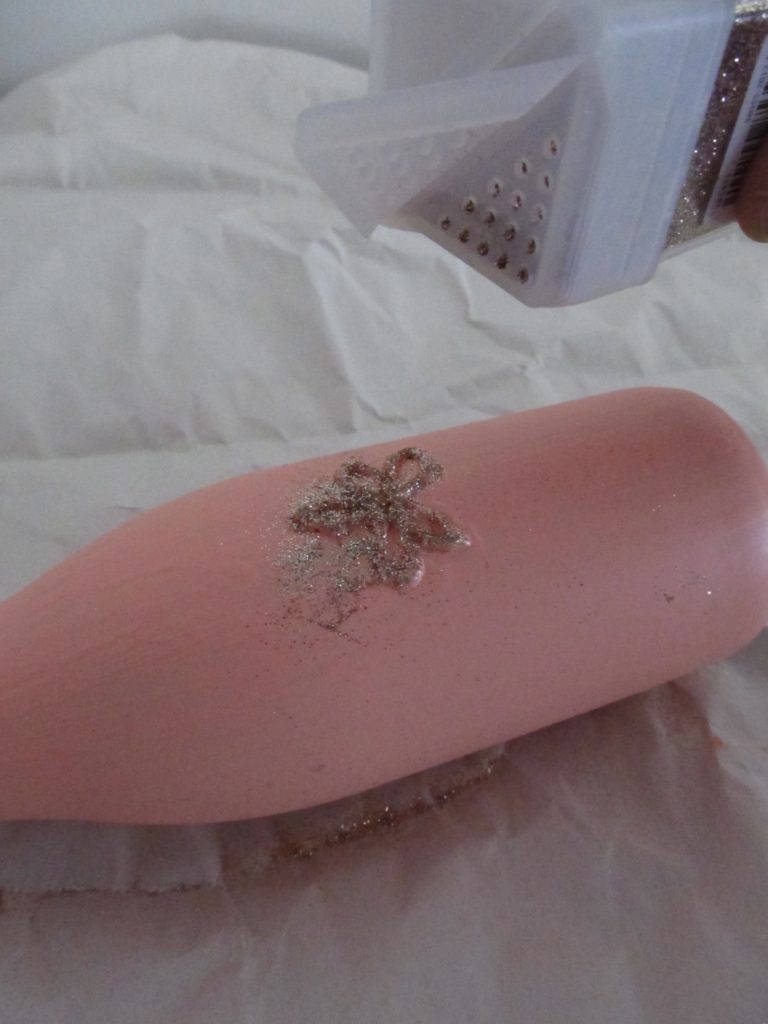
I love glitter. So I decided to add some fine champagne-gold glitter to my flower to make it pop a bit more.
I used a toothpick and dipped it in cement-glue and carefully dabbed it on the design. Then, gently sprinkle on the glitter. [I used Michael’s Recollections Signature Extra Fine Glitter in Champagne]
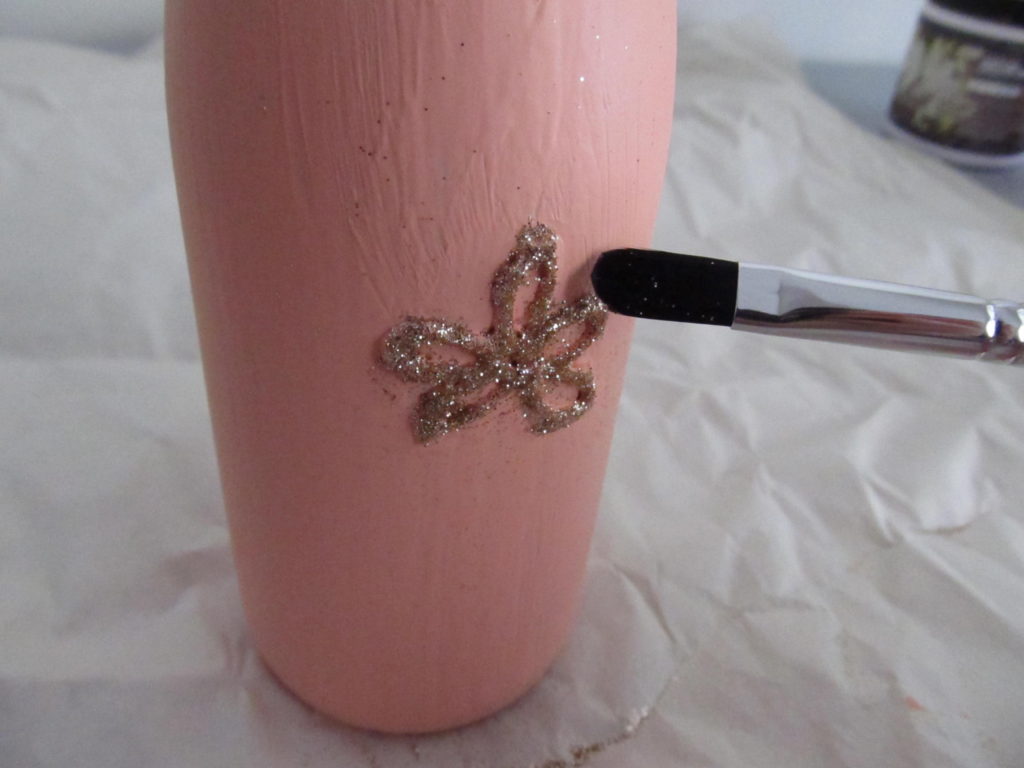
I let it dry then used a small brush to gently clean off the excess glitter around the flower.
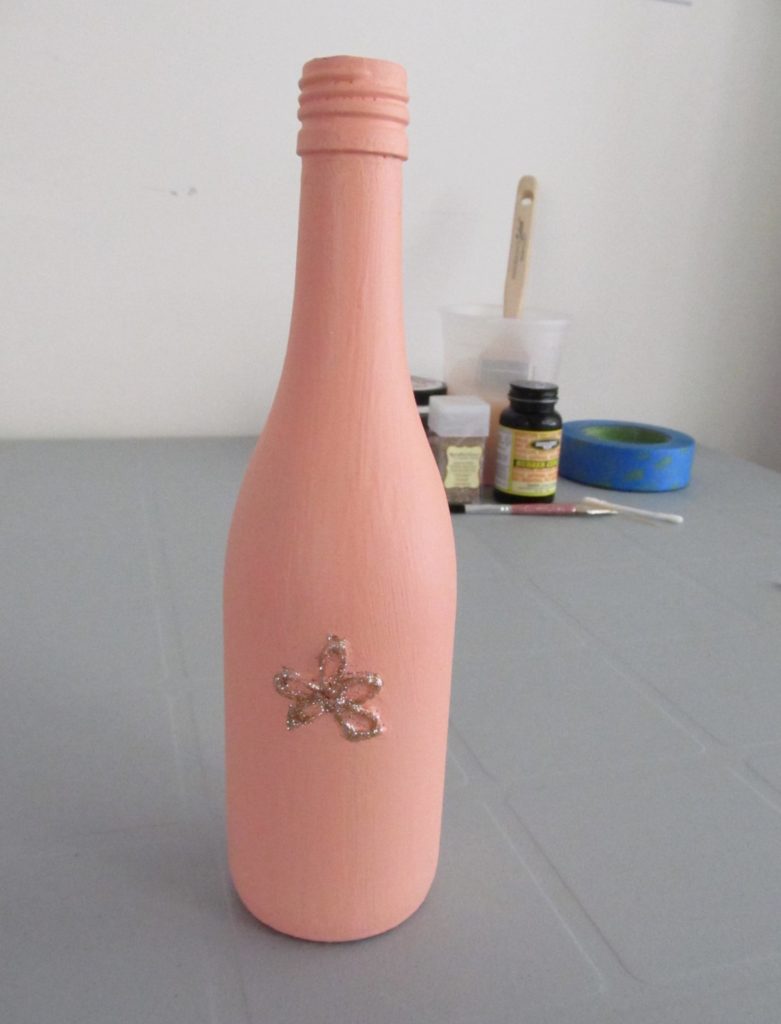
Here’s the final product!
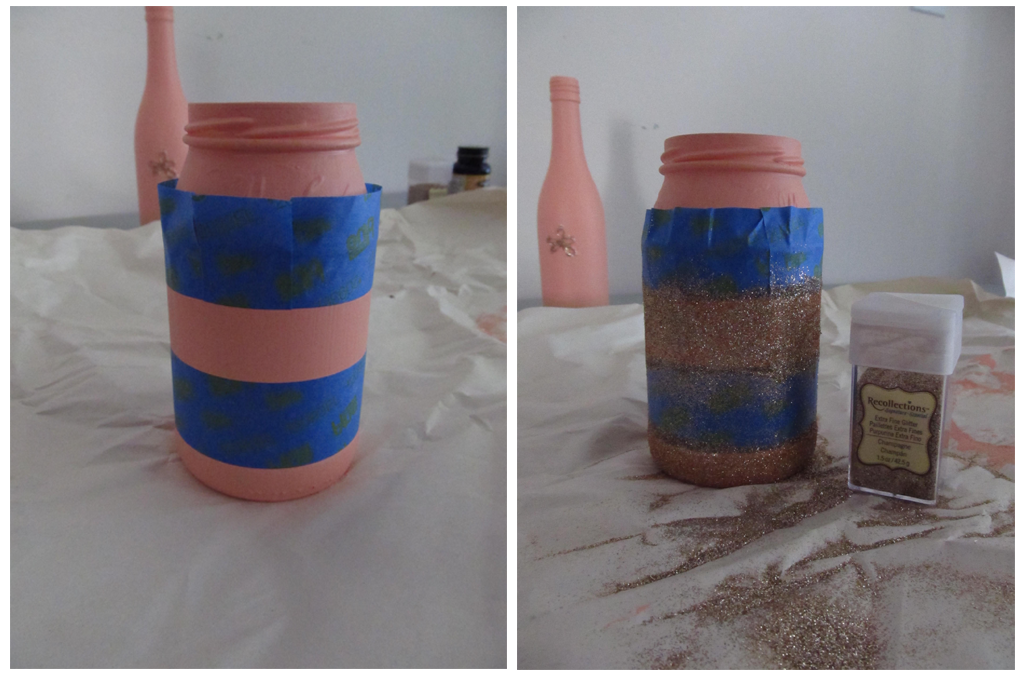
I had some extra paint left over and an old jam jar lying around so I decided to make a 2nd one to add to the collection. This time, I wanted a stripe design. In order to get straight lines around the jar, I used 3M Blue Scotch painter’s tape from The Home Depot – It’s so easy to peel off later. Using the same cement-glue and glitter, I sprinkled it around the jar. I let it dry for about 5-10 minutes then peeled the tape off.
Hope you all enjoyed this. Happy crafting!
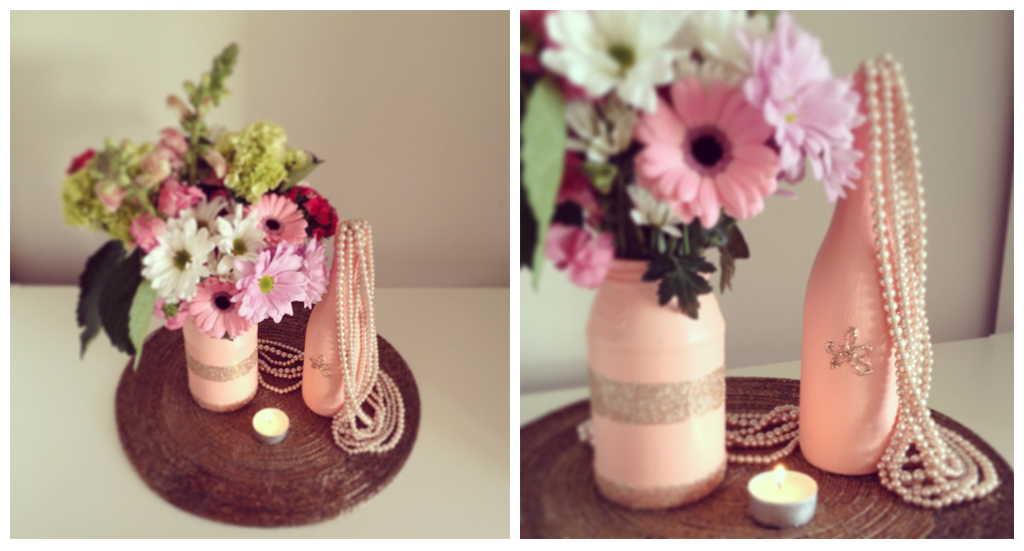
Ta da! It’s done. Here’s a photo of the final set up on my table ♡
Flowers: from Loblaws Supermarkets
A special THANK YOU goes to my husband for being my hand model 🙂
