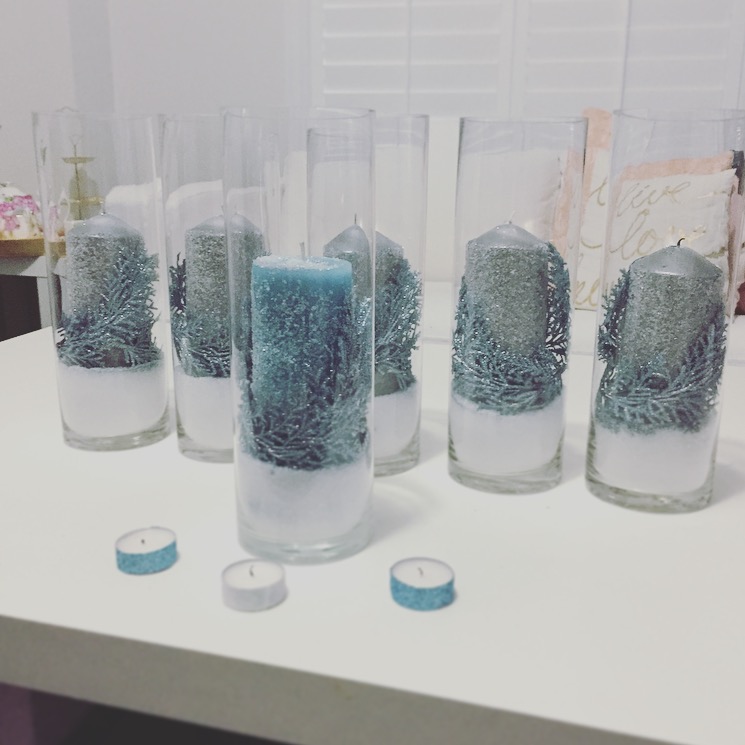
Happy Holidays!
It’s just 3 days until Christmas! For those of you who are planning a get together this holiday season and need an idea for a table piece, check out my little DIY project below!
I love the holidays! Hot cocoa, apple cider, candy canes, and of course, the love and warm tingly feeling you get when you think about Santa Claus and just spending time with family and friends 🙂 I caught the Christmas bug early this year too and started listening to Christmas music mid-November (even before CHFI started playing their holiday music!). This is my most favourite time of the year – not only do I get two weeks off from my day-job, but I get to relax and see my friends and family more. The only thing I am a little disappointed in is that we won’t have a white Christmas in Toronto this year 🙁 I love snow (when it’s falling gently from the sky).
So to make up for the lack of snow fall, I decided to go for a frosty winter wonderland theme this year.
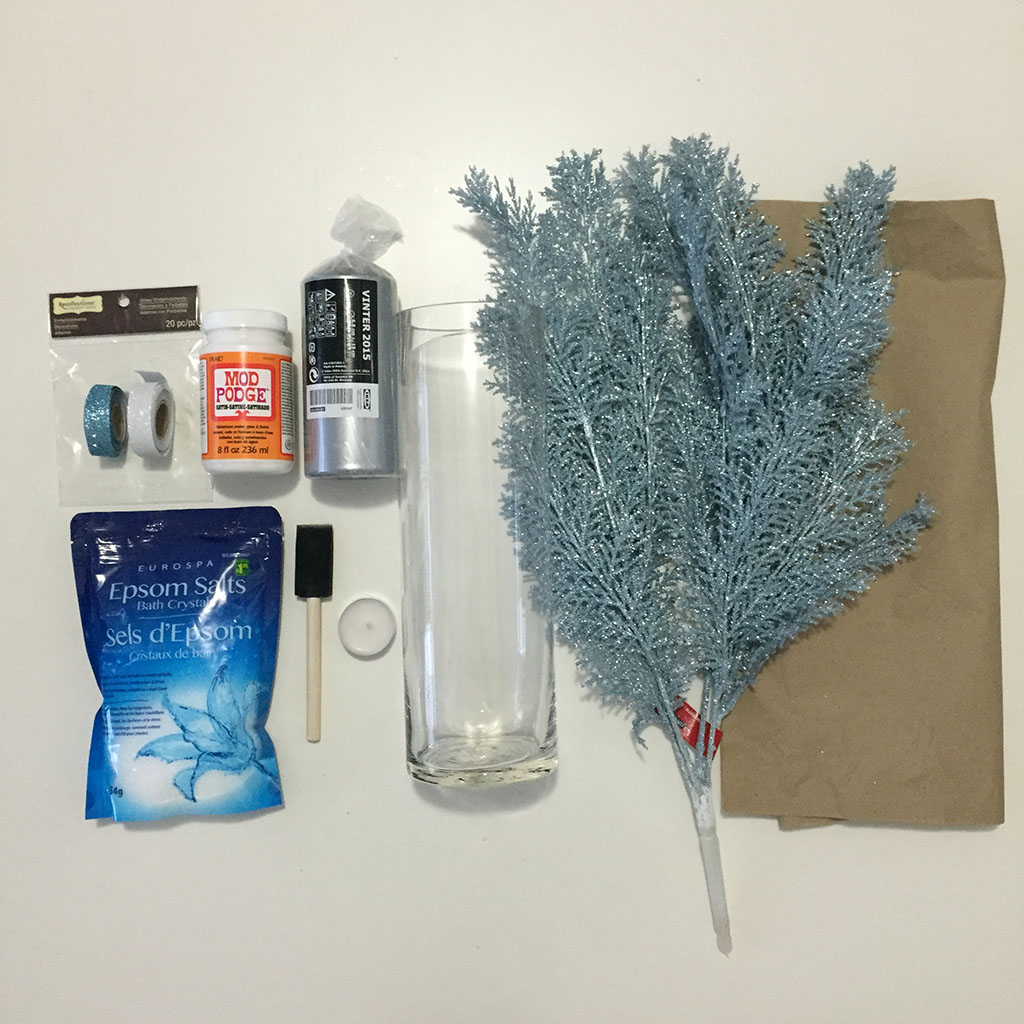
I got the idea of frosted pillar candles from Martha Stewart. It’s so easy and you can add your own twist to it. This was an inexpensive way to add some table pieces and I think it looks beautiful! So here we go…What you’ll need: (I’ll list the prices and where to get these items at the end of this post)
- Scissors
- Mod Podge
- Sponge Brush
- Epsom Salt
- Clear Cylinder Glass Vase (I used a 12″ Tall one)
- Pillar Candle (I used a 6″ tall one in silver, but you can do blue too)
- Tea Light Candles (I used 3 per pillar candle as a set)
- Kraft Paper (or Newspaper is fine too) x 2-3 sheets
- Washi Tape (I used glittery blue and white to go with this theme)
- Glittery Cedar Bush (I used a frosty blue to go with this theme)
Warning! You will get glitter everywhere!
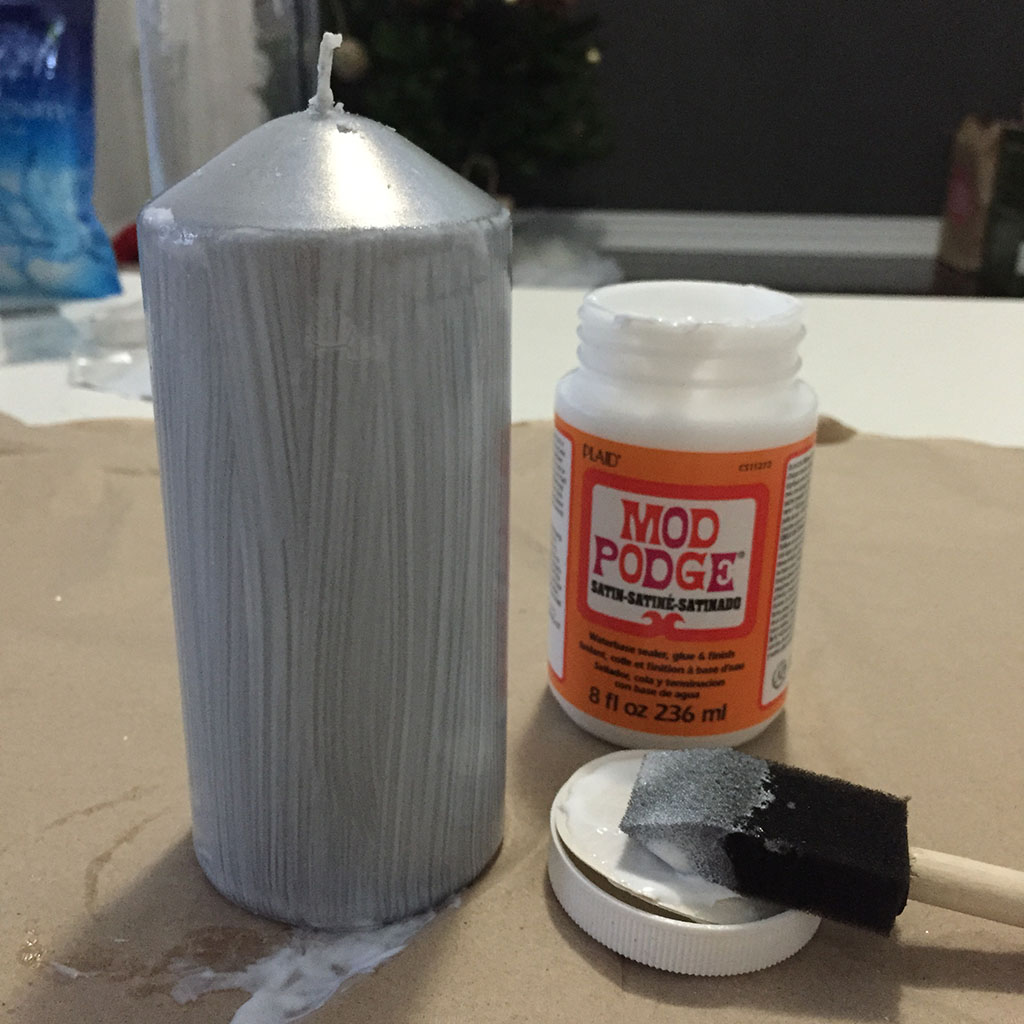
Step 1: Lay out 1-2 sheets of the kraft paper over your table/work station. Unwrap the pillar candle, grab the sponge brush and mod podge. We are going to brush the mod podge on the side of the candle!
When you finish coating your candle, it should look something like this:
Step 2: Grab the second sheet of kraft paper and in the center, pour half the bag of Epsom Salt. We are going to roll the side in the salt! *hint: hold the top and bottom of the candle and roll so you don’t get your fingers all sticky.
Make sure to check around for empty patches. If you do see some patches, just roll that side over again to catch some of the salt.
Once you’re done, gently lift up the candle and let it stand to dry.
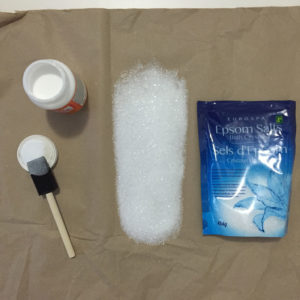
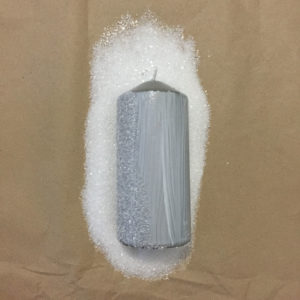
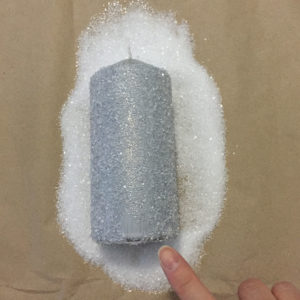
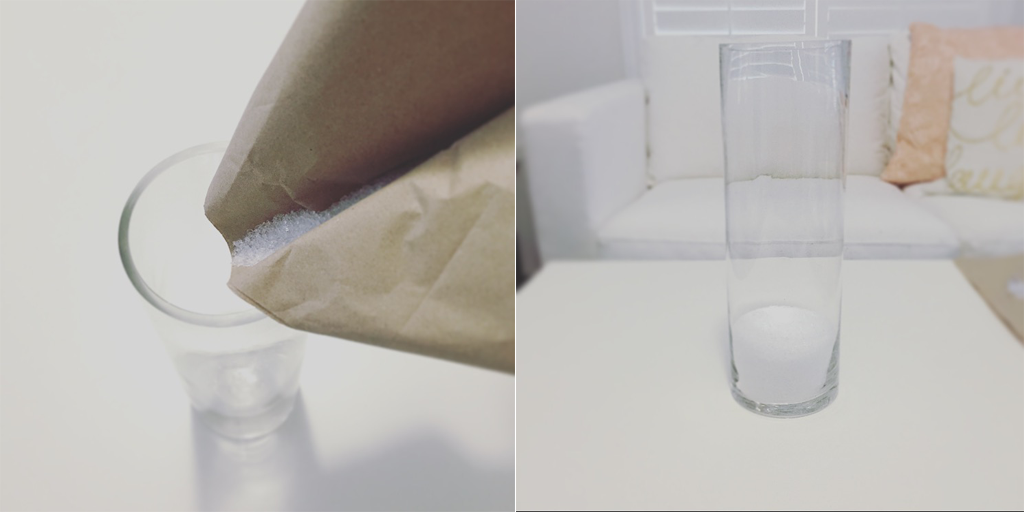
Step 3: While the candle is drying, grab the cylinder glass vase and the left over epsom salt in the bag. We are going to pour the left over salt in the vase! *hint: pour the remainder of the salt that’s on the kraft paper so you don’t waste it!
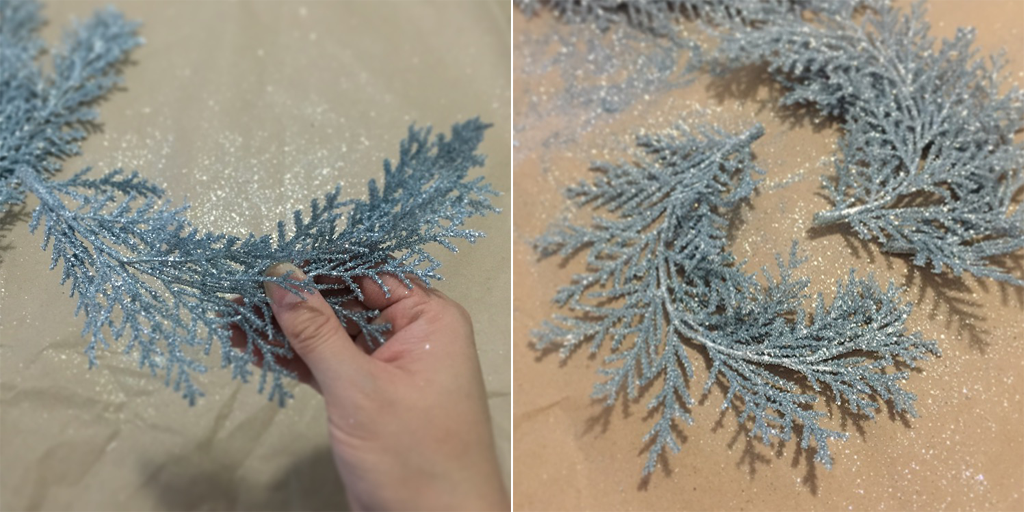
Step 4: While the candle is still drying, grab the glittery cedar bush. We are going to pull apart the leaves!
*hint: look for the joints – it’s very easy to pull off from the large stem
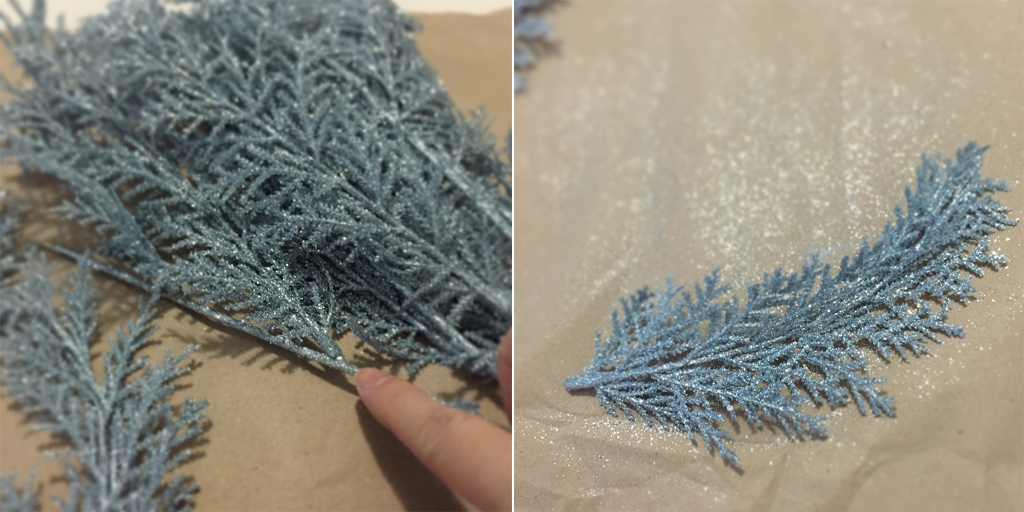
You just need 2 leaves per candle. Once you pull off 2, you will need to bend it. It has a wired spine so it’ll be easy to bend.
Step 5: You can skip this step if you don’t need the tea lights, but it’s easy and I think adds to the table decor, so why not? Here, you’ll need to grab your scissors, washi-tape and the tea light candles

Step 6: By this time, your candles should be dried. So now we can put it all together!
Carefully place the pillar candle inside the vase on top of the bed of salt. You may need to gently push the candle in the salt making a nest for it.
(If your candle is not dried yet, then just let it sit until it’s dried up)
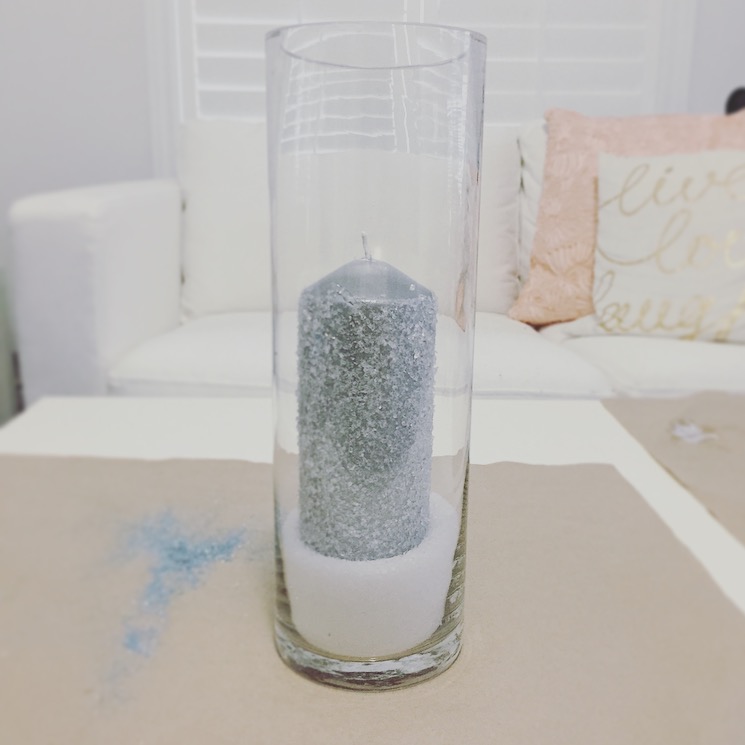
Step 7: Now you can decorate it with the glittery leaves! Carefully, tuck one leaf on the side between the candle and the glass and do the same on the other side with your second leaf. It should look like this:
*Tip: You can gather the blue glitter that’s fallen from the washi tape and the bush and pour it into the vase. This will add some more sparkle to the top of the candle!
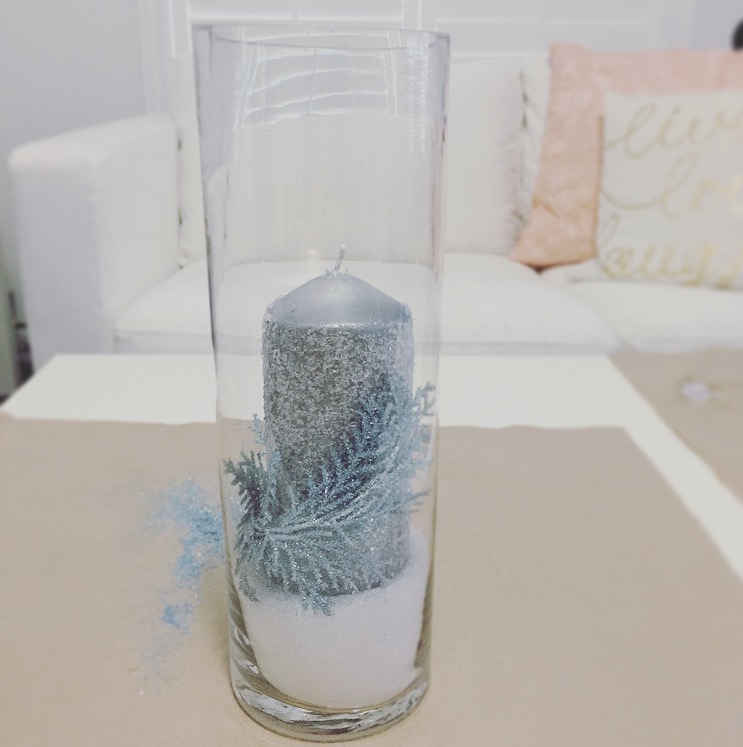
Step 8: You’re all done!!! Now just place it in the center of your dinner table or coffee table and style it the way you like 🙂 Doesn’t it give a nice frosty winter wonderland look?
I made a whole bunch for our Christmas party and gave them away afterwards 🙂
Tip: You can do clusters of 3 in various heights too to give it more dimension!
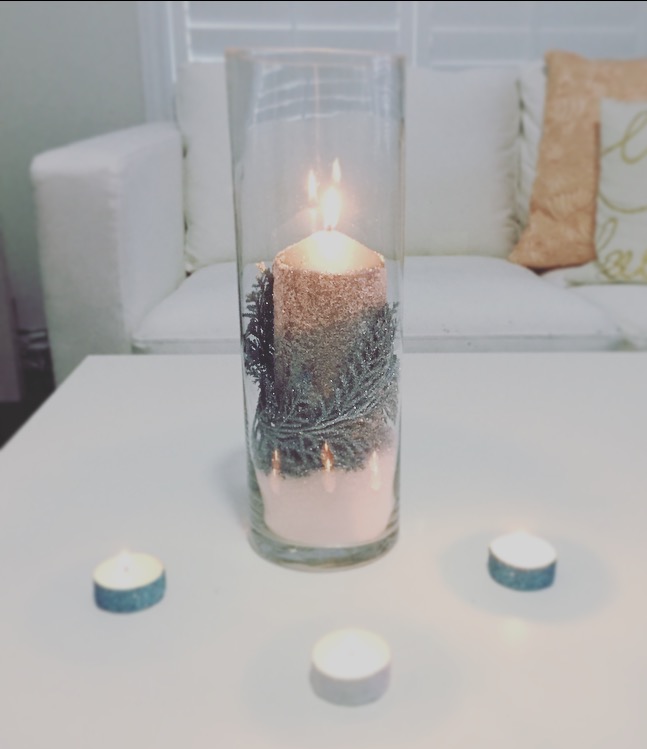

Each table centerpiece ‘set’ cost about $10 only!
Here’s where I bought my materials:
Michael’s Craft Store:
* Mod Podge = $14.99 (but I had a 30% off coupon, so I got this for $10.49 only)
* Washi Tape = $6.99/pack of 2 rolls
* Glittery Cedar Bush = $19.99 (but it was on sale for 50% off, so I got this for $9.99)
Dollarama:
* Sponge Brush = $1.25/bag of 6
* Epsom Salt = $1.25/bag
* Clear Glass Vase 12″ Tall = $3.00/pc
Ikea:
* Pillar Candle 6″ Silver = $3.50/each
(You can get these at Dollarama, but they didn’t have silver and the blue ones they had were Ocean scented which was a bit too strong for my liking. The pillar candles at Dollarama were $3. Ikea had some plain unscented ivory and red ones on sale for $1.99 only. I personally didn’t like the ivory as there was not enough contrast to show the salt effect)
* Tea Light Candles = $4.99/pack of 100
(I had a pack laying around from ages ago. I got mine last year for $3.99/pack of 100, but price has gone up this year. However, you can save an extra trip and just get it from Dollarama, but I believe for a pack of 16 it was about $1.25-$2 already)
I already had these laying around the house:
* Scissors
* Kraft Paper (or Newspaper is fine too) x 2-3 sheets
Okay, so maybe you need to spend about $50 to get all the materials but some of this stuff you can use for plenty of other crafty projects!
Happy crafting and Happy Holidays!
Photo Credits: by me and my iPhone 6
